Access Pi Remotely Tutorial: Your Ultimate Guide To Secure Remote Connections
Imagine this—you've set up a Raspberry Pi at home, but you're stuck in another city, and you need access to that little powerhouse. What do you do? Don't worry; accessing your Raspberry Pi remotely is easier than you think. In this tutorial, we’ll walk you through everything you need to know about accessing your Pi from anywhere in the world. Whether you're a beginner or an advanced user, this guide will help you master remote access in no time.
Accessing your Raspberry Pi remotely opens up a world of possibilities. You can monitor your home security system, control smart devices, or even run server applications—all without being physically present. But before we dive into the nitty-gritty, let’s talk about why remote access is such a game-changer. Imagine being able to troubleshoot issues, update software, or manage files on your Pi from the comfort of your office or while sipping coffee in a café. Sounds cool, right?
Now, before we get into the technical details, let’s clear something up. This tutorial is designed for both beginners and pros. If you're new to Raspberry Pi, don’t sweat it—we’ve got you covered with step-by-step instructions. And if you're a seasoned Pi enthusiast, we’ve included some advanced tips to spice things up. So, grab a snack, sit back, and let’s get started on this remote-access adventure!
- Unveiling The Wealth Of Walt Disney Net Worth Legacy Revealed
- The Legendary Rakim The God Of Hiphop Domination
Why Access Pi Remotely?
Accessing your Raspberry Pi remotely isn’t just about convenience—it’s about efficiency. Whether you’re managing a home automation system, running a web server, or testing IoT applications, remote access allows you to stay in control no matter where you are. Here are a few reasons why remote access is so important:
- Flexibility: Work on your projects anytime, anywhere without needing physical access to your Pi.
- Security: Monitor and manage your network from a safe distance, ensuring everything runs smoothly.
- Productivity: Save time by troubleshooting and updating your Pi remotely instead of commuting back home.
- Cost-Effective: Reduce hardware costs by using your existing devices to access your Pi.
But here’s the thing—remote access isn’t as simple as just connecting to the internet. You need the right tools, settings, and security measures to make it work seamlessly. That’s where this tutorial comes in. We’ll show you how to set everything up safely and efficiently.
Understanding the Basics of Remote Access
Before we jump into the tutorial, it’s essential to understand the basics of remote access. Think of your Raspberry Pi as a tiny computer connected to your home network. To access it remotely, you need to bridge the gap between your local network and the internet. This involves setting up a few key components:
- Unveiling The Life And Legacy Of El Chapo Edgar Guzmn Lpez
- The Untold Story Of Chumlee Pawn Stars To Prison And Back
Key Components for Remote Access
- SSH (Secure Shell): A protocol that allows you to securely connect to your Pi via the command line.
- Port Forwarding: A technique that directs incoming internet traffic to your Pi’s local IP address.
- Dynamic DNS (DDNS): A service that assigns a fixed domain name to your dynamic IP address, making it easier to connect.
- Firewall Settings: Configurations that ensure only authorized connections can access your Pi.
These components work together to create a secure and stable connection. But don’t worry if it sounds complicated—we’ll break it down step by step in the next sections.
Setting Up SSH on Your Raspberry Pi
SSH is the backbone of remote access. It allows you to connect to your Pi’s terminal from any device with an internet connection. Here’s how you can enable SSH on your Raspberry Pi:
Step 1: Enable SSH
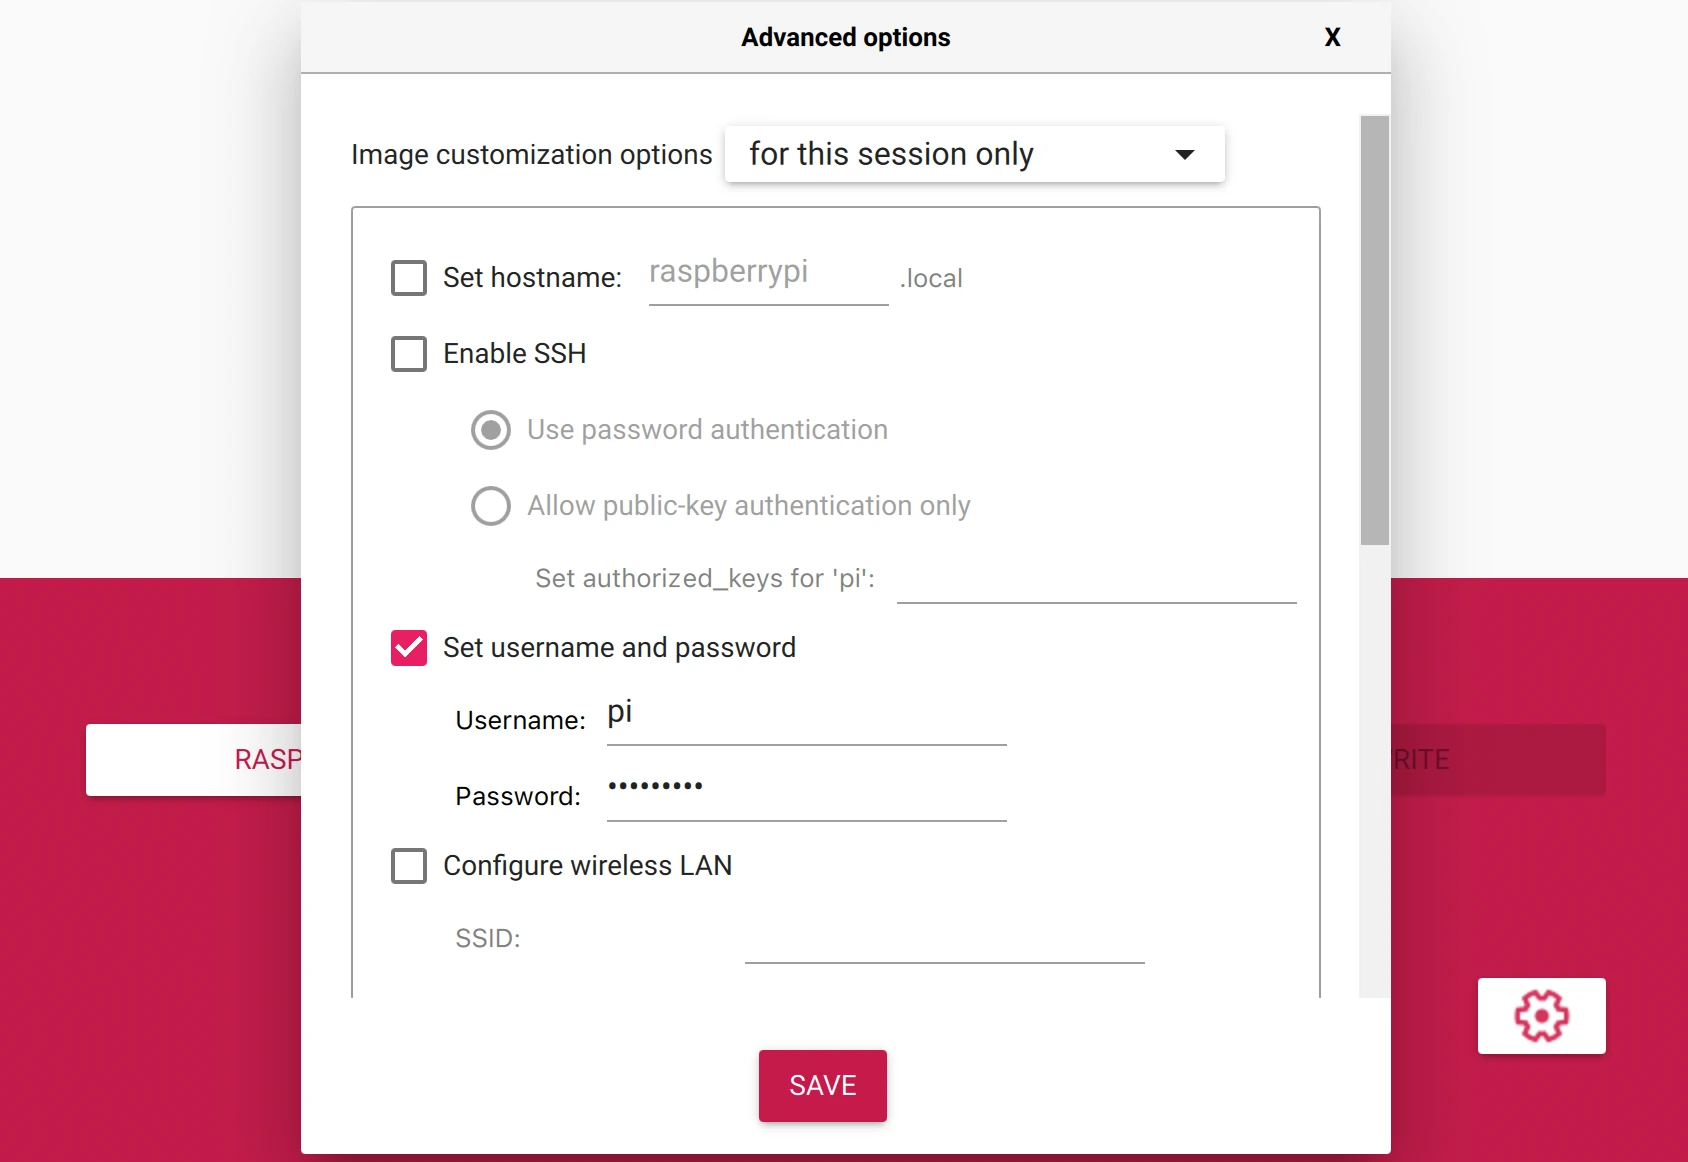
First, you need to enable SSH on your Raspberry Pi. This can be done through the Raspberry Pi Configuration tool or by creating an SSH file on your SD card.
Method 1: Using Raspberry Pi Configuration
- Boot up your Raspberry Pi and log in.
- Open the terminal and type
sudo raspi-config. - Navigate to "Interfacing Options" and select "SSH."
- Choose "Yes" to enable SSH and then exit the configuration tool.
Method 2: Using an SSH File
- Insert your Raspberry Pi’s SD card into your computer.
- Create a new file named "ssh" (without any extension) in the root directory of the SD card.
- Eject the SD card and insert it back into your Raspberry Pi.
Step 2: Find Your Pi’s IP Address
To connect to your Pi via SSH, you need to know its local IP address. You can find this by typing hostname -I in the terminal. Make a note of the IP address—it’ll come in handy later.
Step 3: Test SSH Locally
Before moving to remote access, test SSH locally to ensure everything is working. Open a terminal on another device connected to the same network and type:
ssh pi@[your_pi_ip_address]
Enter your Pi’s password when prompted. If you see the Pi’s terminal, congratulations—you’ve successfully set up SSH!
Configuring Port Forwarding
Port forwarding is crucial for accessing your Pi from outside your local network. It directs incoming traffic from the internet to your Pi’s local IP address. Here’s how you can set it up:
Step 1: Access Your Router’s Settings
Every router has a different interface, but most allow you to access settings via a web browser. Type your router’s IP address (usually 192.168.0.1 or 192.168.1.1) in the address bar and log in with your credentials.
Step 2: Set Up Port Forwarding
Once logged in, navigate to the port forwarding section. Create a new rule with the following details:
- Service Name: Raspberry Pi SSH
- Protocol: TCP
- External Port: 22
- Internal Port: 22
- IP Address: Your Pi’s local IP address
Save the changes and restart your router to apply the new settings.
Using Dynamic DNS for Easy Access
Dynamic DNS (DDNS) simplifies remote access by assigning a fixed domain name to your dynamic IP address. This way, you don’t have to remember your IP address or worry about it changing. Here’s how you can set it up:
Step 1: Choose a DDNS Provider
There are several DDNS providers to choose from, such as No-IP, DuckDNS, and Dynu. Most offer free plans that are perfect for personal use.
Step 2: Create an Account
Sign up for an account with your chosen provider and create a new hostname. This will be the domain name you use to access your Pi.
Step 3: Install DDNS Client
Most DDNS providers offer a client application that keeps your domain name updated with your current IP address. Install the client on your Pi and configure it with your provider’s credentials.
Securing Your Remote Connection
Security should always be a top priority when setting up remote access. Here are a few tips to keep your Pi safe:
Change Default Credentials
Never use the default username and password for your Pi. Change them to something strong and unique. You can do this by typing sudo passwd in the terminal and following the prompts.
Disable Password Authentication
Instead of using passwords, consider setting up SSH keys for authentication. This adds an extra layer of security and eliminates the risk of brute-force attacks.
Use a Firewall
A firewall can block unauthorized access to your Pi. Use tools like UFW (Uncomplicated Firewall) to configure rules that allow only necessary traffic.
Troubleshooting Common Issues
Even with the best setup, things can go wrong. Here are some common issues and how to fix them:
Issue 1: Unable to Connect via SSH
If you can’t connect to your Pi via SSH, check the following:
- Is SSH enabled on your Pi?
- Is your Pi’s IP address correct?
- Are there any firewall rules blocking SSH traffic?
Issue 2: Port Forwarding Not Working
If port forwarding isn’t working, try the following:
- Double-check your router’s settings.
- Ensure your ISP allows port forwarding.
- Restart your router and try again.
Advanced Tips for Remote Access
Once you’ve mastered the basics, here are a few advanced tips to take your remote access skills to the next level:
Tip 1: Use a VPN for Added Security
A Virtual Private Network (VPN) encrypts your connection, making it nearly impossible for hackers to intercept your data. Consider setting up a VPN on your Pi for an extra layer of security.
Tip 2: Automate Tasks with Cron Jobs
Cron jobs allow you to schedule tasks on your Pi, such as backups or updates. This can save you time and ensure everything runs smoothly in the background.
Tip 3: Monitor Your Pi with Remote Tools
Tools like Grafana and Prometheus can help you monitor your Pi’s performance from anywhere. This is especially useful if you’re running resource-intensive applications.
Conclusion
Accessing your Raspberry Pi remotely doesn’t have to be a daunting task. With the right tools and settings, you can stay in control of your Pi no matter where you are. From enabling SSH to configuring port forwarding and setting up DDNS, this tutorial has covered everything you need to know to get started.
Now that you’ve learned the ins and outs of remote access, it’s time to put your knowledge into practice. Whether you’re managing a home automation system or running a web server, remote access opens up endless possibilities. So, what are you waiting for? Get out there and start exploring!
And don’t forget to share your experiences in the comments below. We’d love to hear how you’re using remote access to enhance your Raspberry Pi projects. Until next time, happy tinkering!
Table of Contents
- Why Access Pi Remotely?
- Understanding the Basics of Remote Access
- Setting Up SSH on Your Raspberry Pi
- Configuring Port Forwarding
- Using Dynamic DNS for Easy Access
- Securing Your Remote Connection
- Troubleshooting Common Issues
- Advanced Tips for Remote Access
- Conclusion


Detail Author:
- Name : Mertie Hoppe MD
- Username : elouise.weimann
- Email : dianna.steuber@gmail.com
- Birthdate : 1973-11-17
- Address : 16275 Hagenes Lodge Suite 727 South Aaron, RI 45754
- Phone : +1 (830) 264-6232
- Company : Williamson LLC
- Job : Electromechanical Equipment Assembler
- Bio : Repellat aut in quam officia quisquam tenetur fugiat. Repudiandae est ut minus sed non. Omnis et et atque cupiditate sapiente et.
Socials
tiktok:
- url : https://tiktok.com/@monahana
- username : monahana
- bio : Inventore asperiores incidunt id velit alias dignissimos vitae.
- followers : 6975
- following : 2780
facebook:
- url : https://facebook.com/art.monahan
- username : art.monahan
- bio : Omnis modi similique quis ipsa aut earum. Ad soluta ipsa velit.
- followers : 149
- following : 1847
instagram:
- url : https://instagram.com/monahan1973
- username : monahan1973
- bio : Vel omnis et ea aut quasi in totam. Molestiae numquam omnis ut aut saepe.
- followers : 6413
- following : 2637
